Start With a Scenario
The scenario below is a composite, not any one project.
A general contractor finishes a four-story wood-frame building. One subcontractor installed the windows and another applied the stucco. Two winters after turnover, occupants start reporting stained drywall below several openings. The owner opens a few walls and finds wet sheathing, decayed framing and corroded fasteners. The demand letter comes with a consultant’s estimate that has one number at the bottom: strip the stucco on three elevations, replace every window, replace sheathing and framing where needed and refinish.
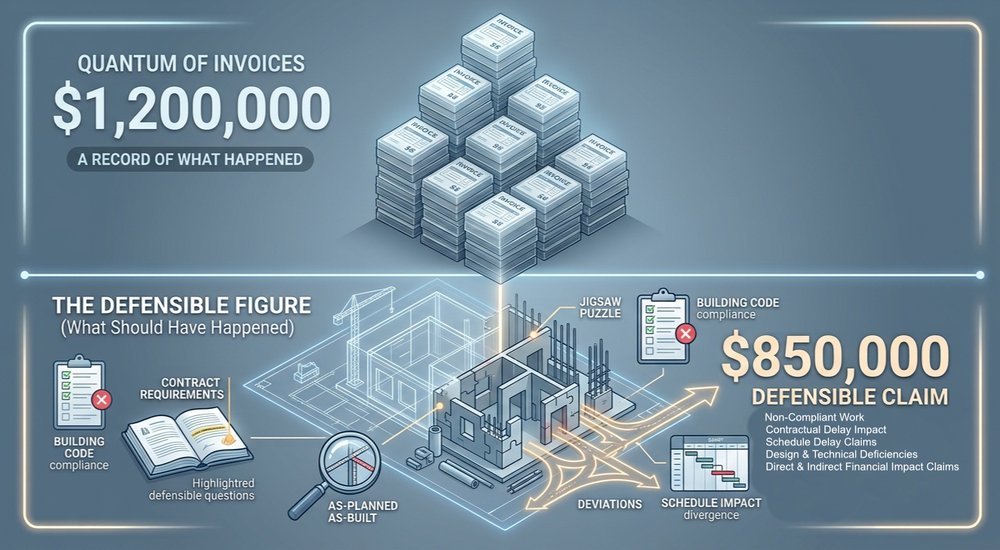
The contractor tenders to its CGL carrier. Now the carrier needs answers that a single number cannot give. How much of the cost replaces work that was built wrong? How much repairs other building components the water physically injured? How much is removal of sound work just to get to the problem? How much is new work the building never had? When did the injury start?
All of those questions get answered on the building and in the project record. This article covers how a construction expert separates defective work from resulting damage, prices access, code upgrades and betterment as their own lines and uses the physical evidence and project documents to date when damage began.
The Policy Categories in Brief
Most contractor CGL coverage is written on a standard form published by Insurance Services Office (ISO) or on a carrier form built on one. Wording varies by edition, carrier and endorsement, so the policy in hand controls.
For context only: the policy responds to “property damage.” The standard-form policy in the Texas case discussed below defined that as physical injury to tangible property, including resulting loss of use, along with loss of use of tangible property that is not physically injured. A group of exclusions often called the “business risk” exclusions then limits coverage for costs tied to the insured’s own work and products. Some are aimed at the cost of repairing or redoing the insured’s own work. Others address property that is less useful because it contains defective work or product but has not itself been physically injured. Who performed the work can matter under some of these provisions and endorsements can change that. Counsel reads the actual forms.
How those categories apply to a particular policy in a particular state is a question for counsel. What counsel needs from the construction side does not change from state to state: what was defective, what was physically injured, whose work each item was, when the work was completed and when the injury began.
Defective Versus Damaged: What the Expert Has to Show on the Building
Defective work is work that was not built the way the contract documents, the manufacturer’s installation instructions or accepted practice required. A window set without proper integration to the weather-resistive barrier is one example. Stucco without the specified weep screed is another, as is flashing lapped the wrong way. The defect is a condition. It can sit in a wall for years without injuring anything.
Resulting damage is physical injury the defect caused to something else. That means decayed framing, delaminated or softened sheathing, corroded fasteners, stained and deteriorated drywall or cupped flooring. It is a change in the material and it has to be observed and recorded as one.
The distinction gets hard on a single component. Take the windows. A unit that leaks through its own frame joints is a defective product. A sound unit that was racked or punctured during installation is a damaged one. On the demand, both show up as “replace window.” You only know which is which if someone inspected each unit and wrote the reason for replacement next to it.
Evidence of the Defect
- The design and approval record. Drawings, specifications, approved submittals and the manufacturer’s installation instructions for the product actually installed. The as-built condition gets measured against these, not against a generic detail.
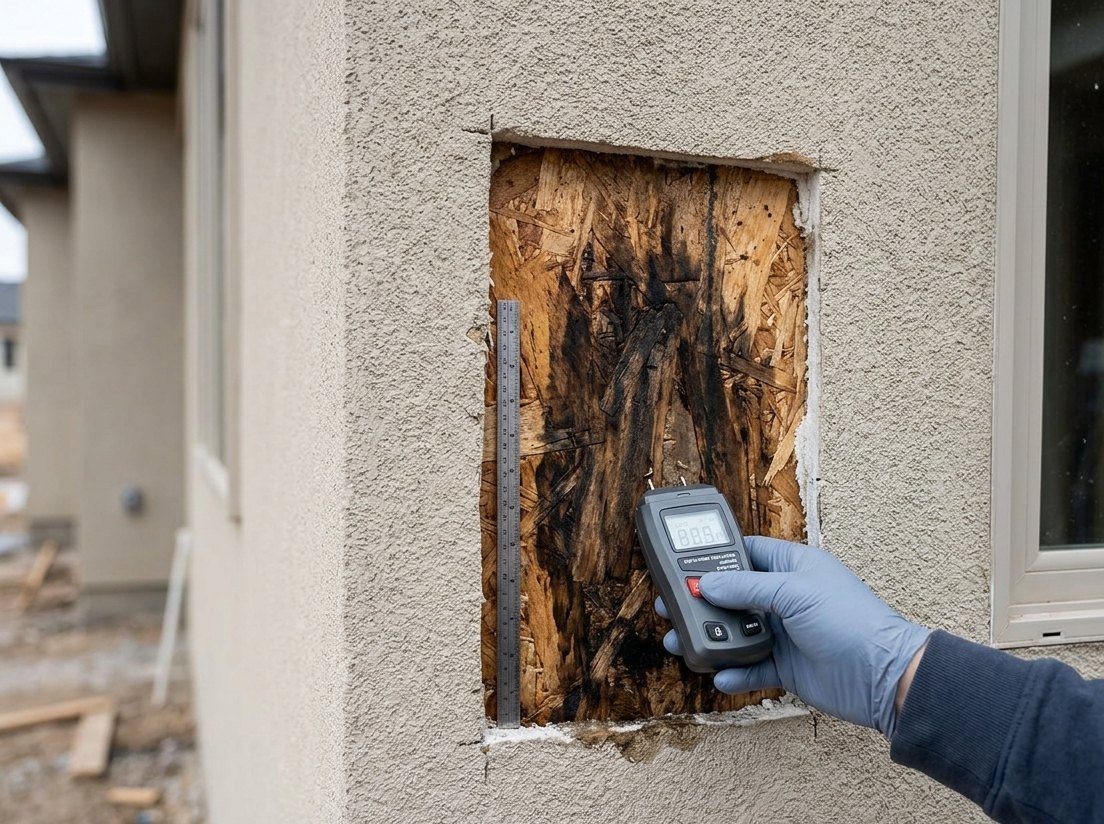
- The as-built condition. Test openings that expose each layer in sequence, photographed with a scale reference before anything else is removed. Laps, sealant joints, fastener spacing and missing components are recorded in place.
- Water testing. Controlled testing at representative openings can show where water enters and where it goes. How long water has been following that path is a separate question, covered below under dating.
Evidence of the Damage
- Moisture readings. Taken on a grid and recorded by location, with the meter type and setting noted.
- Material condition. Probing for decay, the extent of staining, fastener corrosion, swelling and loss of strength. Wet material and injured material are two different things. Sheathing can be wet today without having deteriorated.
- Relationship to the defect. A wide photograph that shows the damage and the defect it is attributed to in the same frame. If a damage line cannot be traced to a defect location, expect it to be challenged.
Whose Work It Was
On a general contractor’s file, who performed the damaged work and who performed the work that caused the damage can matter under the policy wording and its endorsements. That makes scope attribution a construction question. Subcontract scope exhibits, daily reports showing which crews worked each elevation, pay applications and schedules of values usually answer it.
Interfaces are the hard part. I spent years as a project manager and construction administrator working through RFIs, submittals and field discrepancies between design teams and general contractors. The transitions between trades are where those questions tend to land. The window-to-barrier flashing often appears in the window subcontract, the stucco subcontract, both or neither. The expert should say which, cite the document and flag any gap.
Five Buckets, Not One Number
You cannot sort a lump sum into policy categories after the fact. Early in my forensic career I prepared repair cost estimates for construction defect cases and my advice from that work is to build the categories in from the first line. On a CGL file, the most useful thing a construction expert produces is a repair scope and estimate organized from the start around categories the policy recognizes, with the basis for every line documented.
- Remove and replace defective work. The windows that were defective products, the missing weep screed, the reversed flashing laps. Tag each line with the installer and the document that shows it.
- Resulting damage. Decayed framing, damaged sheathing, drywall, finishes, flooring and contents. Tie each line to an observation: location, material, moisture reading and photo number.
- Access and rip-and-tear. Sound work removed only to reach defective work or resulting damage. There is more on this below.
- Code upgrades. Work the building department will require on the repair that the original construction did not include.
- Betterment. Improvements beyond like-kind repair, priced as the difference over like-kind.
Estimating Mechanics That Make the Buckets Hold Up
- Quantities from marked-up elevations. Take every quantity off a drawing that shows the test openings, the observed extent of damage and the repair limits. A reader should be able to find any line on the drawing.
- Split mixed items by quantity. Sheathing is the usual example. Some sheets are decayed and belong in bucket 2. Others are sound and come off only because the repair method requires it, which puts them in bucket 3. One line item with one quantity hides that difference.
- State the extrapolation. If damage quantities are projected from test openings to a full elevation, say so, give the sample and explain the basis. An all-worst-case sample cannot support a projection across a building.
- Spread indirect costs on a stated basis. General conditions, scaffolding, temporary protection, permits, design fees, overhead and profit serve all five buckets. Allocate them by a stated method and apply it consistently.
Segregation also has to be planned before demolition. Once the framing is in a dumpster, the line between defective work and the damage it caused can only be rebuilt from whatever photos someone thought to take. For how damages are built line by line, see our piece on the quantum approach to damage valuation.
Access and Rip-and-Tear: Pricing What Has to Come Off
Repairing a leaking window in a stucco wall means cutting stucco, lath and barrier back far enough to rebuild the flashing and lap the new barrier into the existing one. None of that stucco was defective. It comes off because of how the repair has to be sequenced.
For each access item, the expert has to show what it is being removed to reach. Access that serves only the replacement of defective work reads differently from access needed to repair decayed framing behind it. Often the same cut serves both. When it does, the estimate should say so and state how the cost is split so the reader does not have to guess.
One Texas case shows why this matters. In U.S. Metals, Inc. v. Liberty Mutual Group, Inc., 490 S.W.3d 20 (Tex. 2015), sound insulation and gaskets destroyed while defective flanges were replaced were treated differently under the policy from the loss of use of the refinery units during the work. Whether that reasoning carries to another state or policy is for counsel. For the expert, the point applies anywhere. The estimate must identify which sound components the repair destroys and why it has to destroy them.
Repair Method Drives Access Cost
Access quantities depend on the repair design. A band cut around each opening, a partial strip below the sills and a full elevation strip all fix the same window flashing, yet they remove very different amounts of sound cladding. An owner’s consultant who specifies a full strip should explain why a smaller cut will not work. A carrier’s consultant who prices a band cut should explain how the new barrier will tie into the old one and how the finish will match.
Each choice needs a stated technical basis and finish matching is part of that. A patch that cannot match existing texture or color can push repair limits out to a corner or control joint.
Code Upgrades and Betterment
Code Upgrades
Code upgrade work is driven by the repair permit. When the walls are opened under a permit, the building department may require current provisions that the original construction did not need. The expert should document the code cycle under which the building was originally permitted, identify each item the repair permit will require that the original did not and price each one as its own line.
Permit records, the original approved drawings and a conversation with the jurisdiction’s plan reviewer are the usual sources. Whether an upgrade is triggered at all can depend on the extent of the repair under local rules, so the scope that triggers it should be stated.
Betterment
Betterment is anything the repair adds beyond restoring what was there: an upgraded window series, a drainage cavity or rainscreen where the original wall had none or a higher grade of cladding. Some of it is a reasonable design response to a failed assembly. Some is owner preference. Either way, price it as the delta over like-kind repair so the parties can decide who pays for the improvement.
Dating When the Damage Started
The next question is which policy periods respond. That depends on when physical injury occurred.
The rule in brief, using one example: in Don’s Building Supply, Inc. v. OneBeacon Insurance Co., 267 S.W.3d 20 (Tex. 2008), a synthetic stucco and wood rot case, the Texas Supreme Court held that property damage occurs when actual physical damage occurs, not when it is discovered. The court acknowledged that pinpointing that moment after the fact is sometimes difficult. Courts in other states may apply different trigger and allocation rules. Counsel decides which applies. The construction work stays the same either way: build a defensible bracket for when the injury began.
How an Expert Dates Onset
- Installation dates set the floor. Pay applications and schedules of values show when scope was billed complete. Daily reports show crews by elevation. Inspection cards show when lath, weather barrier or framing was signed off. Construction photos with intact metadata can show the condition of flashing and barrier before cladding covered it. Injury cannot predate installation.
- Completion dates mark the change in policy categories. Certificates of occupancy, punch list sign-offs, the final pay application and move-in dates show when each area was completed or put to use. Policy wording can treat work in progress differently from completed work, so counsel may need these dates by area.
- Exposure history. Water damage needs water. Weather records for significant rain events after installation give candidate dates for first wetting, especially wind-driven rain on the affected elevations.
- First complaints set a ceiling on manifestation. Warranty requests, work orders, HOA minutes and tenant emails show when damage was visible. They do not show when it began.
- Physical progression. Moisture mapping, the extent and stage of decay, fastener corrosion and staining depth indicate duration. They can often distinguish repeated seasonal wetting from a single event.
- Intervening events. Prior repairs, sealant campaigns, window adjustments and roof work can change the water path partway through the history. Put maintenance records and prior invoices in the timeline so a later repair is not mistaken for original conditions.
Limits of the Evidence
Decay and corrosion rates depend on moisture content, temperature, species, treatment, fastener coating and wetting frequency. None of that was recorded for the years in question. An expert can usually bracket onset between installation and first complaint and can often say damage was progressive across that window. An expert usually cannot say damage began in a particular month or that a precise share occurred in a given policy year.
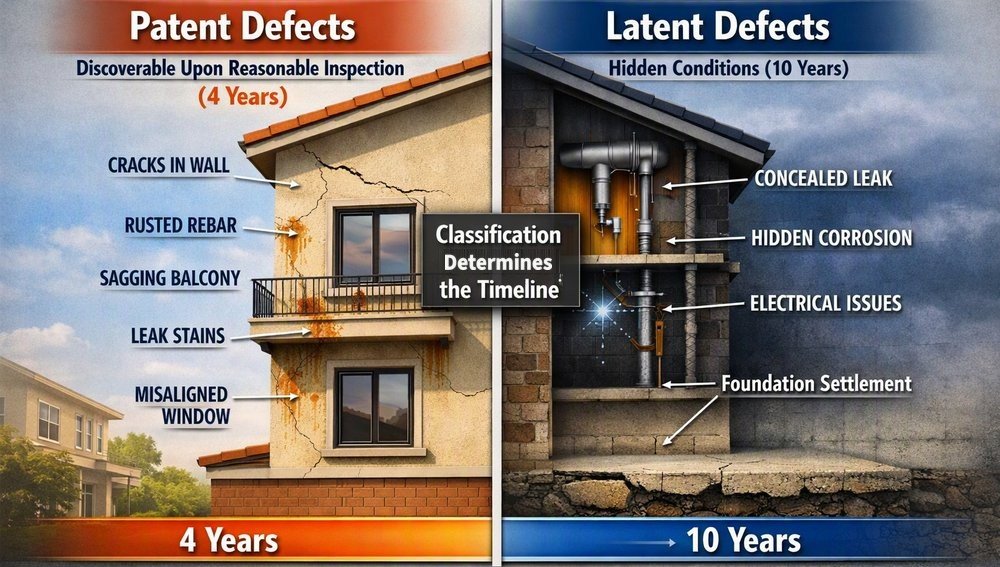
Defensible work states the bracket, the evidence behind each end and what further data would narrow it. On when a defect became discoverable, see patent vs. latent defects.
Inspection Protocol and Photo Documentation
Most of what the estimate and the onset bracket rely on is either captured or lost during the first round of openings. This is the sequence we follow.
- Notice. Give all parties and carriers notice of destructive testing. Unilateral openings invite a spoliation fight and leave the other side’s expert with nothing to inspect.
- Survey before opening. Visual survey, gridded moisture readings and infrared where conditions allow. Map first.
- Representative openings. Choose locations by elevation, detail type and installer, not only the worst spots, so findings can be projected with a stated basis.
- Photograph each bucket before demolition. The defective condition with a scale reference. The resulting damage with moisture readings in frame plus a wider shot showing its relation to the defect. Sound material slated for access removal. Existing conditions that code or betterment work will change. Tie every photo to a marked-up elevation.
- Preserve samples. Keep removed materials, labeled by location, for lab work and for the other side’s expert.
What to Do With This
Whoever handles the claim should get the policy forms and every endorsement to the expert at the start, including any that address work performed by subcontractors. That way the scope is organized around the categories that matter. Ask for a segregated estimate before you evaluate the number and send someone to the destructive testing. Request the subcontracts with scope exhibits, pay applications, daily reports, inspection cards, completion records, warranty and work order history and construction photos with metadata intact.
Coverage counsel gets the most from an expert brought in before the walls are opened, while the testing plan can still be designed around the questions the policy asks. Ask for findings in plain construction terms: which components are defective, which are physically injured and on what evidence, who built each one, the completion date by area and the onset bracket with its basis. Ask the expert to state what the evidence cannot establish as well.
On the defense side, my advice is to push for scope attribution by installer early, while the subcontractors’ records and field staff are still available. Have the expert go through the demand estimate line by line for access, code and betterment content and for projections from unrepresentative samples. Our guide on reading a forensic report before deposition is a good starting point for testing the other side’s work.
If you are retaining an expert directly, our companion piece on expert witness fees and retainers covers how engagements are scoped. The policy decides which costs can be covered. Whether anyone can show which costs those are comes down to the building and the project record.
A Note on Sourcing
PCC is a construction forensics and construction management firm, not a law firm. Our forensic work on coverage files is the construction side of the analysis: scoping, segregating and dating damage so the people applying the policy have facts to apply it to. The policy form, endorsements and the two cases referenced here are included only as context for why the construction work matters. Rely on your counsel for how any policy provision or rule applies to your file.
Our description of the policy provisions is deliberately general because form editions and endorsements vary. Check it against the policy in hand. The U.S. Metals and Don’s Building Supply references were checked against the opinion text. Their reporter citations were checked against later opinions of the Supreme Court of Texas that cite them. Current as of September 2026.
This article is a general informational overview, not legal advice and does not create an attorney-client or expert-client relationship. Rules and case law change. Confirm current applicability with qualified counsel in the relevant jurisdiction before relying on anything described here.